When applying for a passport, you may easily feel overwhelmed with all the paperwork to gather, forms to fill out, and regulations to follow. However, understanding the correct steps can transform this stressful ordeal into a straightforward, hassle-free experience.
Knowing the ins and outs of the process saves time and prevents potential setbacks, ensuring a smooth path to securing this travel document. Below is a foolproof guide to obtaining your passport without the hassle.
Step 1: Determine The Type Of Passport You Need
Before you apply, decide whether you need a passport book or a passport card. A passport book is necessary for all international travel by air, offering the widest travel flexibility. It’s the standard form of identification for international trips and is required by most countries for entry and exit.
Conversely, the passport card is smaller, fitting easily into a wallet, and you can use it for travel by land and sea to places like Mexico, Canada, Bermuda, and the Caribbean. However, you cannot use it to fly to other countries.
Choosing the correct type based on your travel needs is crucial to avoid any inconvenience.

Step 2: Gather Necessary Documentation
The application process requires specific documentation to prove your identity and citizenship. For most applicants, a birth certificate or naturalization certificate suffices to prove citizenship.
If you’ve changed your name, be prepared to provide legal documentation of the name change. As for proof of identity, a current, government-issued ID like a driver’s license is necessary.
You’ll also need photocopies of these documents. Ensure the photocopies are clear and on plain white, 8.5 x 11″ paper.
The requirement for passport photos is also stringent, with specific dimensions, background color, and clothing guidelines. Professional photo services are recommended to meet these requirements.
Step 3: Complete The Application Form
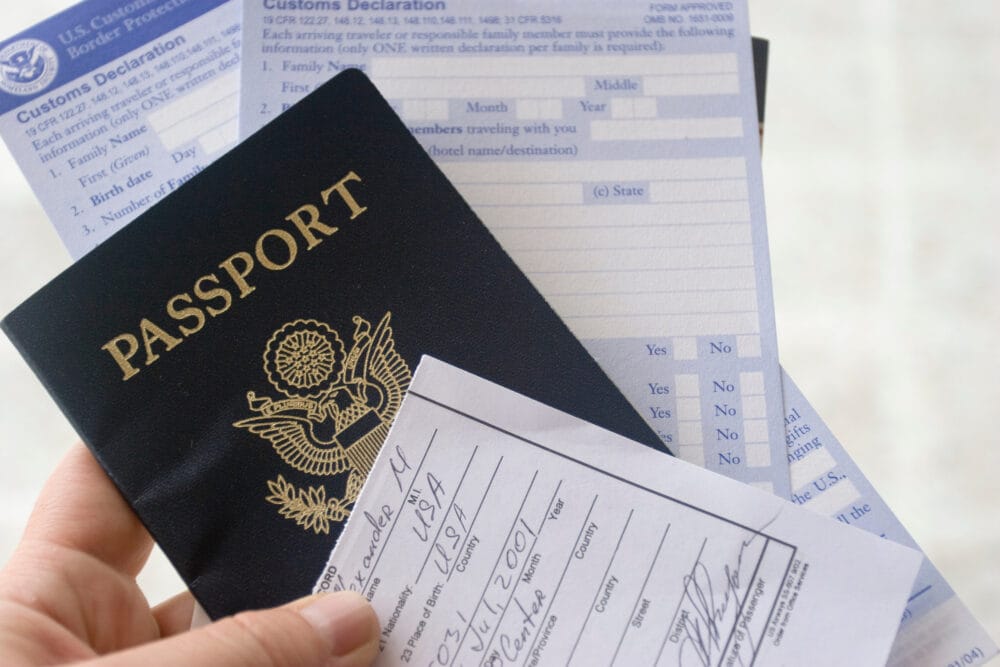
Form DS 11 is the standard form for first-time applicants, minors, and those not eligible to renew by mail.
In cases where a minor’s application is involved, Form DS 3053 may also be required if one parent or guardian cannot be present at the application time. This form serves as a statement of consent from the non-applying parent or guardian.
Accuracy and honesty when filling out the form are paramount. Double-check all entries for mistakes and ensure that the information exactly matches your proof of citizenship and identification. Falsifying information or making errors can lead to delays or denial of your application.
Step 4: Calculate Your Fees
The total cost of obtaining a passport can vary. Fees are determined by several factors, including whether you are applying for a passport book or card, opting for both, and whether you require expedited service.
Adults and minors have different fee structures, and additional services like overnight delivery of your new passport incur extra charges. The U.S. Department of State’s website offers a fee calculator to help you understand the exact costs involved.
Step 5: Schedule An Appointment (If Necessary)
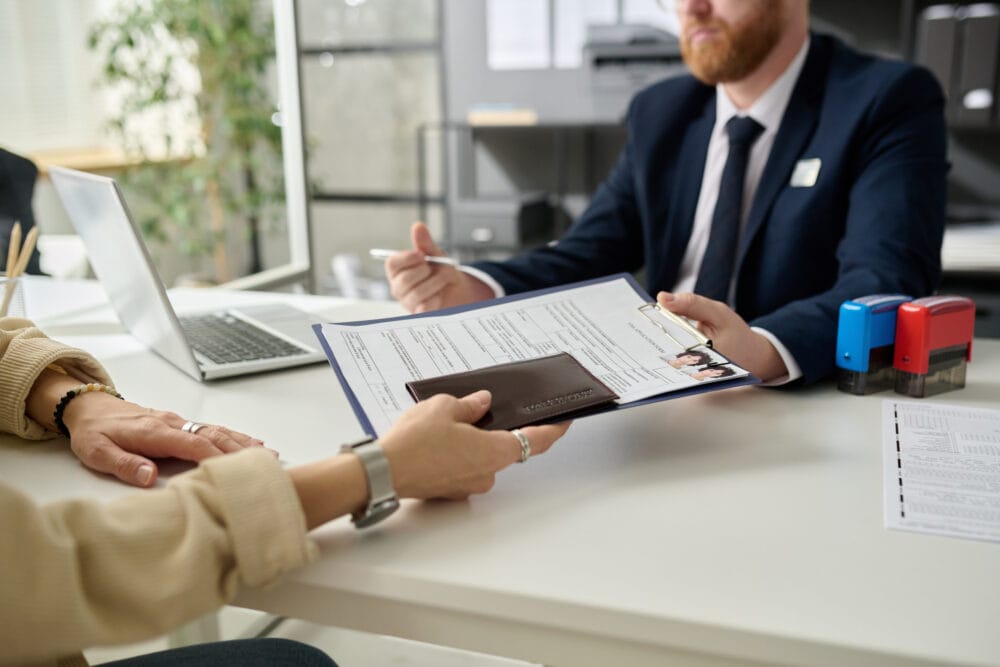
First-time applicants, minors, and others required to apply in person must visit a passport acceptance facility. This could be a post office, library, or county clerk’s office. Many facilities require an appointment, which can often be scheduled online or by phone.
At your appointment, a representative will review your documents, administer an oath regarding the truthfulness of your application, and collect your fees. For renewals eligible to be done by mail, this step can be skipped.
Step 6: Submit Your Application
Carefully review your application packet before submission to ensure everything is complete. For in-person applications, ensure you have all documents, photocopies, and your photos.
For mail-in renewals, check that you’ve included your current passport, the completed renewal form, a new photo, and the payment. Incomplete or incorrect submissions can significantly delay the process.
Step 7: Track Your Application
After submission, you can track the status of your application online. This feature allows you to see when your application has been received, when it’s in process, and when your passport (and documents) have been mailed.
Keeping an eye on your application’s progress can help you manage your travel plans more effectively.
Additional Tips
Beyond the basic steps, there are strategies to avoid common pitfalls and ensure your application proceeds without delays.
1.Apply Early
Start the passport application process several months before your intended travel date, particularly before peak seasons like summer and winter holidays.
Applying early helps avoid delays during busy periods and ensures you meet entry requirements that demand passport validity beyond your trip.
2.Review Everything Thoroughly
Before submitting, double-check your application, identification, and supporting documents for accuracy and completeness. Errors or omissions can lead to processing delays or additional requests for information.
3.Follow Photo Guidelines Strictly
Adhere closely to the specific requirements for passport photos, including size, background, and facial expression. Incorrect photos are a leading cause of application delays, making professional photo services a worthwhile investment.
4.Consider Expedited Services If Necessary
If you’re under a tight deadline, opt for expedited processing to reduce the waiting time for your passport. While this service incurs an additional fee, it’s invaluable for last-minute travel plans or emergencies.
Remember, expedited services still require some processing time, so it’s not an instant solution, but significantly faster than the standard procedure.
Wrapping Up
The passport application process, with its detailed steps and requirements, exemplifies the balance between security and accessibility in global travel. With these steps and tips, applicants can approach the process with confidence, knowing that each document, form, and photo plays a pivotal role in unlocking the world beyond their borders.


Comments